
Fitting & Installation
Gutter GuardInstallation Guide
Manufactured in Australia, supplied nationwide



CSIRO flammability high index rating
VHB adhesive fixing

Proudly manufactured in Australia with internationally sourced materials
Lake Macquarie / Hunter Valley

Year Gutter Guard warranty
Up to 20 stainless with 3M VHB, up to 15 aluminium. Certified installer required. T&Cs apply

Over 30 Years of Industry Experience

+25 years of HIA membership


Fitting Leaf Free Step by Step
Fitting Leaf Free is a sequence, and the order matters more than the difficulty of any single step. This guide covers preparation, laying the Gutter Guard and bonding it with the pressure roller.
It applies to all three Gutter Guard types and every roof we supply across Australia, whether you're fitting a house yourself or working through a commercial run.
At the heart of the system is 3M VHB (Very High Bond) Adhesive Tape, from our partnership with 3M. It replaces the screws and rivets of traditional methods, so the Gutter Guard is secured by a continuous bond along the run and installation is quicker and cleaner, with no holes through the roof.

Before You Start
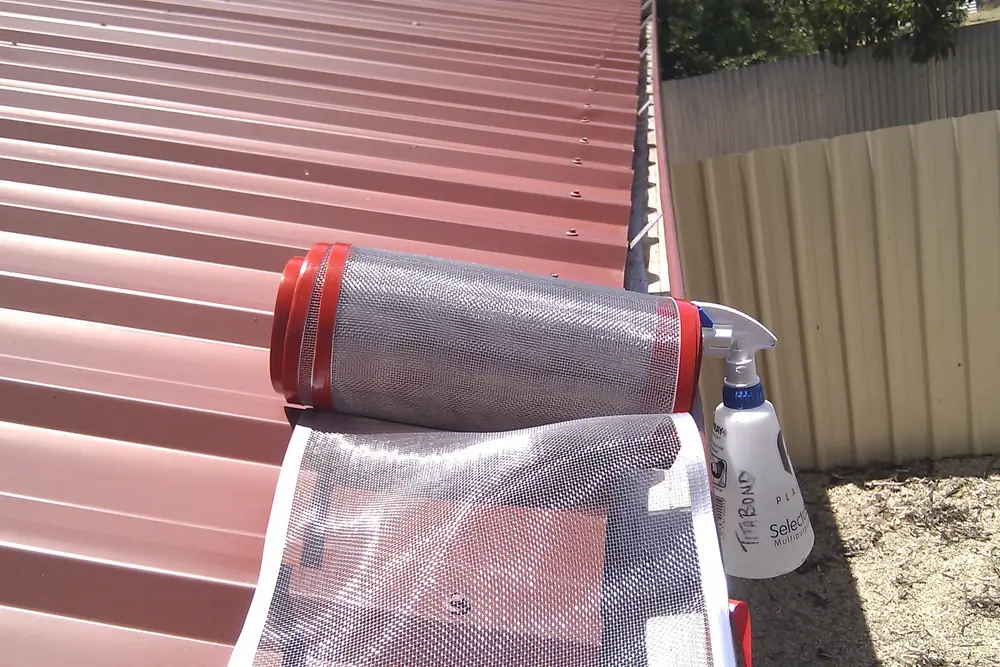
Clear and dry the gutters, check the run for damage, and have the Gutter Guard, tape, Prepclean, Primetite, roller and trims on the roof before you begin. Working on a dry day makes the difference to how the adhesive performs.
From the Leaf Free installation brochure
Fitting Steps by Roof Type
A summary of the fitting steps in our Preparation, Fitting & Installation Guide. Always follow the full brochure. Warranty cover requires fitting by a Leaf Free certified installer.
Warranty terms: the current Warranty document (PDF, opens in a new tab) controls where older brochures or marketing documents differ.
Step 1: Remove all debris from gutter and downpipes.
Step 2: Contact surfaces must be clean, dry and in good condition. Clean with Step 1 Cleaner. Never install in damp conditions.
Step 3: Remove backing liner from mesh.
Step 4: Press adhesive firmly on to top bead of the gutter.
Step 5: Allow the Gutter Guard to sag a little - do not fix under tension.
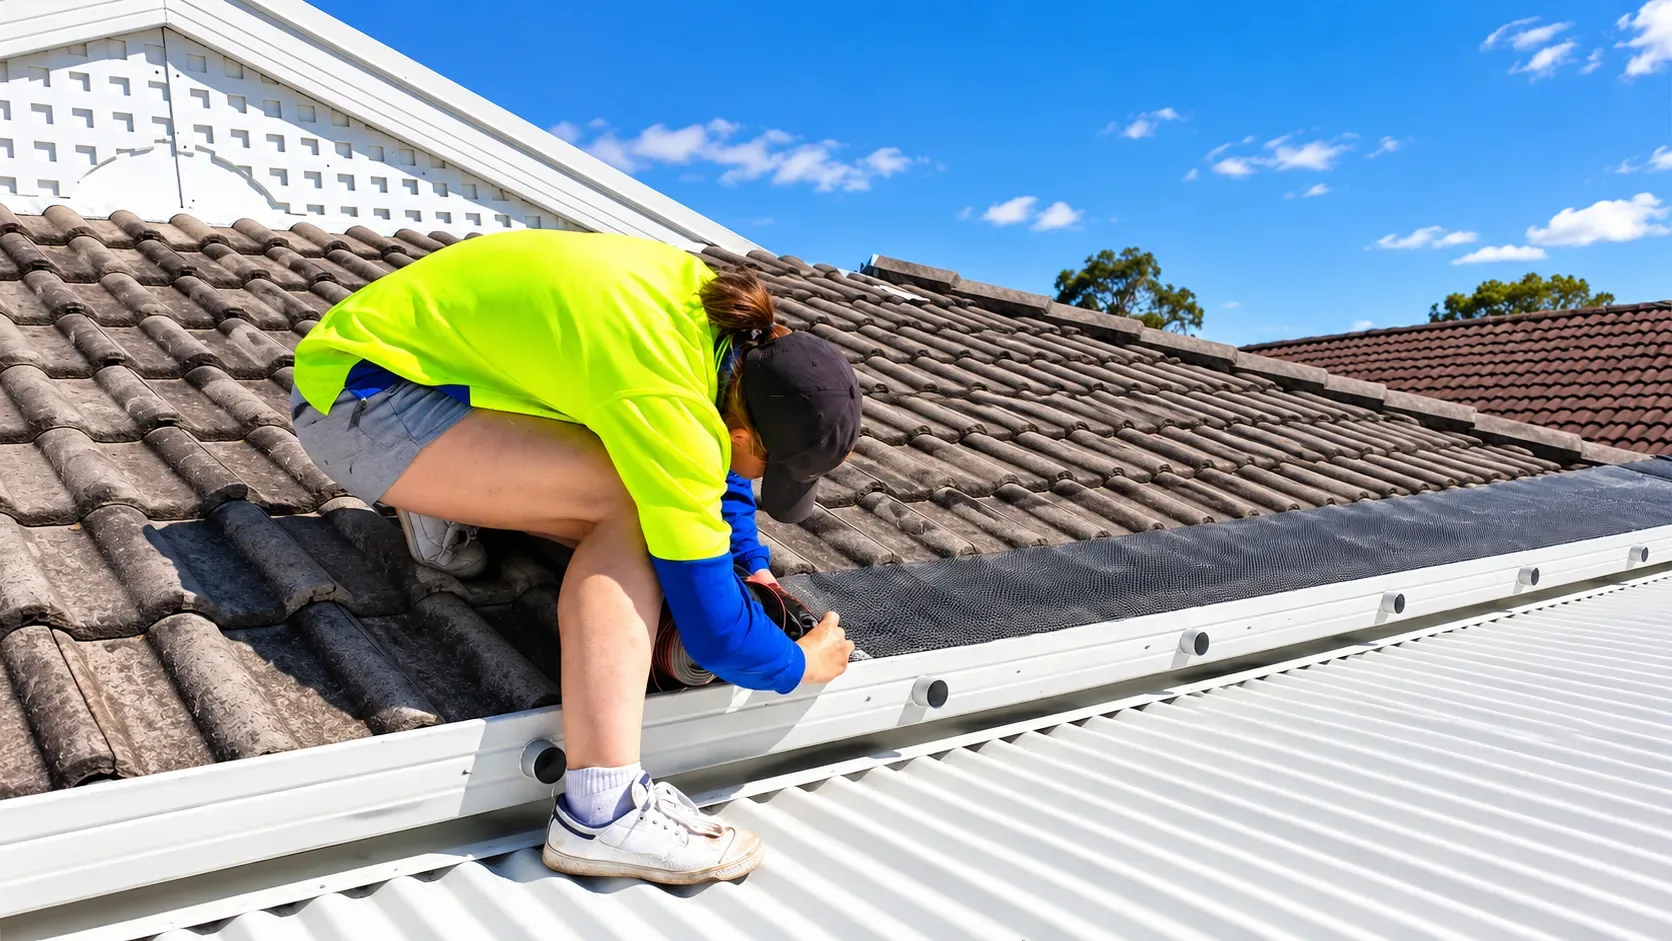
Step 6: Make a cut in the Gutter Guard at the centre of each tile. The cut runs vertically from the point where the Gutter Guard will go under the second row of tile through to the top edge of mesh. This creates short panels of mesh.
Step 7: Tuck the flaps of mesh under the second row of tiles. The tiles will now "bed down" on the Gutter Guard.
Step 8: Where the second row of tiles cannot be lifted, (end of run, hips, etc.) cut the Gutter Guard to the bottom of the second row of tiles.
Step 9: Trim mesh to fit neatly around ridge of capping.
Step 10: A coloured roof and gutter silicone will hold the Gutter Guard in place on seams of mesh.
On metal roof fitting make sure that the adhesive makes first contact with the bottom of the profile, then mould adhesive up each side.
Metal roofing steps 1-4
- Remove all debris from gutter and downpipes.
- Contact surfaces must be clean, dry and in good condition. Clean with Step 1 Cleaner. Never install in damp conditions.
- Remove backing liner from mesh.
- Press adhesive firmly on to top bead of the gutter.
Step 5: Make a cut of approx. 30mm down through the tape and the Gutter Guard over each rib.
Step 6: Press the adhesive tape firmly into the bottom & up the sides of the corrugation. The cut will expand at the top of the corrugation.
On metal roof fitting make sure that the adhesive makes first contact with the bottom of the profile, then mould adhesive up each side.
Metal roofing steps 1-4
- Remove all debris from gutter and downpipes.
- Contact surfaces must be clean, dry and in good condition. Clean with Step 1 Cleaner. Never install in damp conditions.
- Remove backing liner from mesh.
- Press adhesive firmly on to top bead of the gutter.
Step 5: Slice the Gutter Guard sufficiently to permit the ribs to protrude through.
Step 6: Press the adhesive tape firmly into the bottom & up the sides of the ribs.
Step 1: Cut along the ridge of the tile. The Gutter Guard will sit on the top of the tile against the ridge of the tile.
Step 2: Tuck the flap of mesh underneath the tile beside.
Step 3: Continue this method on the other side of the valley.
Step 4: This will leave a fishbone or sawtooth effect up the valley.
Installation Videos
Fitting a Tile Roof
Fitting Tiles and Valleys
Fitting Tiles and Valleys 2
Fitting Metal Roofs
Fitting Metal Roofs and Valleys
Gutter Guard Preparation and Fitting

Stuck on a step? Call 1300 456 678 and we'll talk you through it.
Call 1300 456 678